ARCTOS 6-DOF 3D-Printed Robotic Arm Assembly#
Base Arm Build Process#
During the summer, I took over assembly and electrical wiring work for my friend’s robotic arm project. The following article describes the month-long process of various assembly challenges.
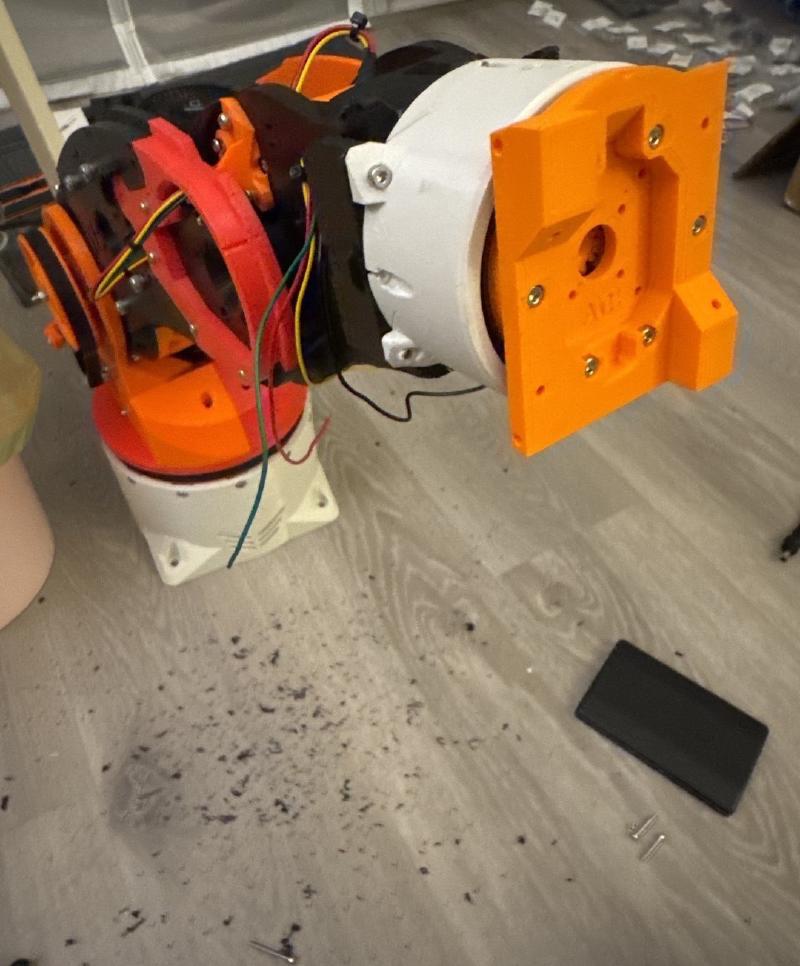
I received the arm like this. The two cycloidal gearboxes were assembled, but the arm was not attached to the base, and none of the stepper motors, hall-effect sensors, or belts were installed.
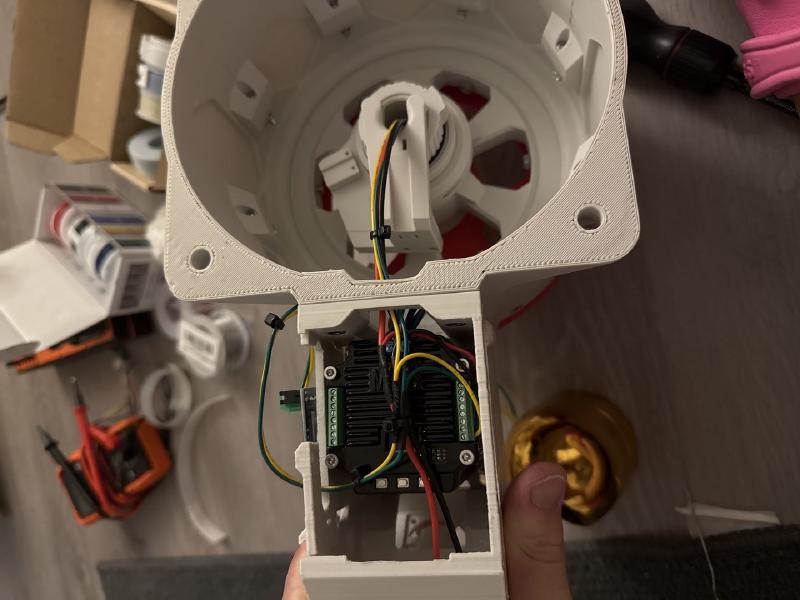
I began by routing the 2 power and 2 CAN wires from the base of the robot. Then, I spliced off dedicated wires to the first motor. This splicing technique was something I did not see many people doing for the ARCTOS, but it gives much cleaner wiring than WAGO clips.
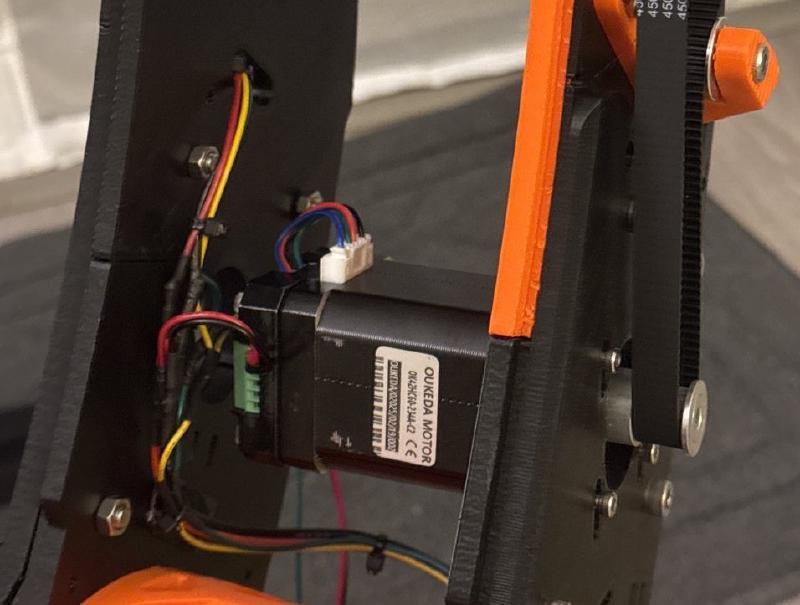
I followed with the 2nd and 3rd motors, carefully routing the wire through the robot, and splicing off. At this point, I attached the top to the base and installed the motors with a little difficulty.
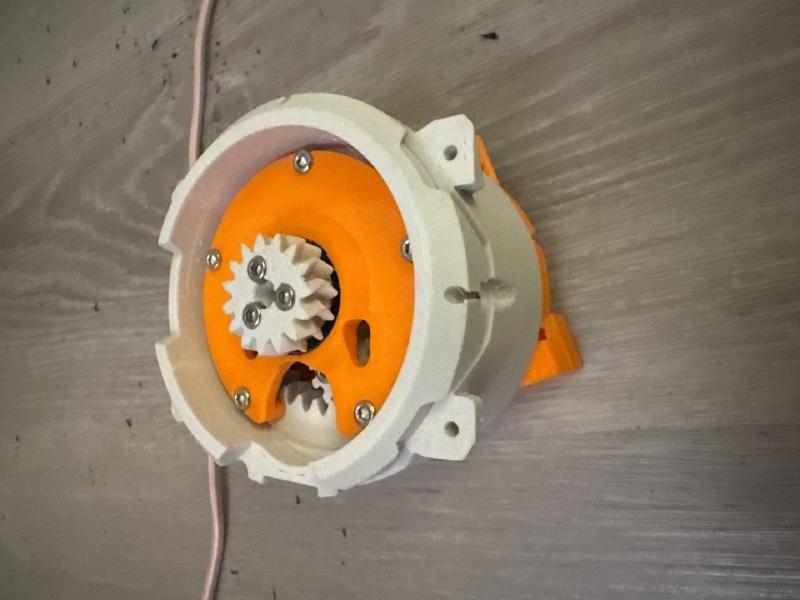
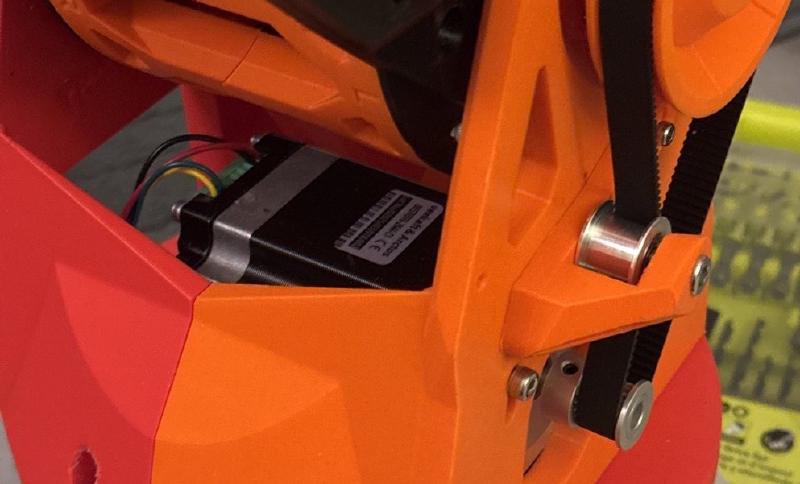
With the easy things out of the way, next up was installing the 4th motor planetary gearbox. This caused significant issues because the design or assembly was misaligned, and the gearbox did not fit properly.
To solve this, I used a spade drill bit and did some serious damage.
Luckily, eventually everything fit together. Don’t mind the damage.
At this point, I wanted to see some arm movement, so I set up the software to connect to the CAN bus and sent a basic motion command for all joints.
The next stage was the trickiest part of the entire build. Although the assembly steps for this were relatively simple, I struggled immensely to get the planetary gearboxes to turn consistently.
To improve the smoothness of the gearbox, some users suggested spinning the parts quickly with a drill. This helped, but ultimately I just reprinted on a Bambu printer and it fixed all my problems.
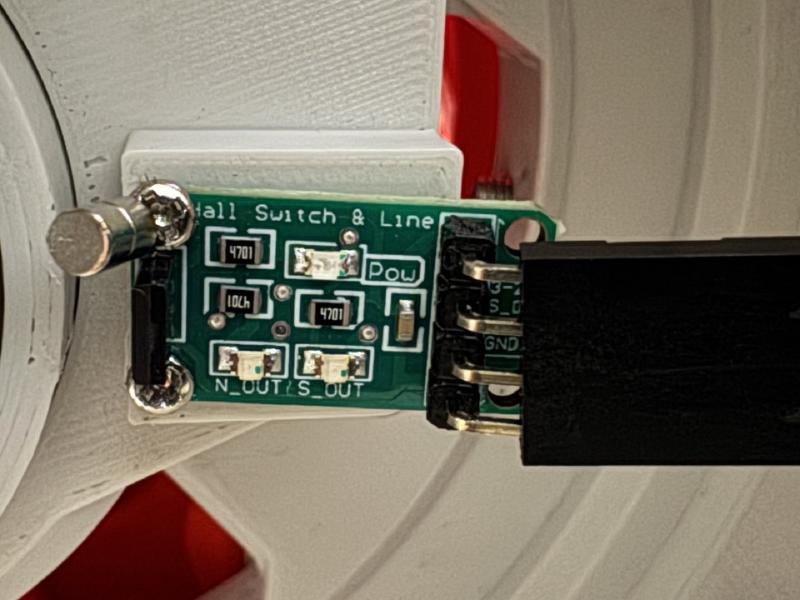
After this, I began installing some of the hall-effect sensors.
This let me test the homing of the first axis, which worked great and started the ability of the robot to go to chosen angles.
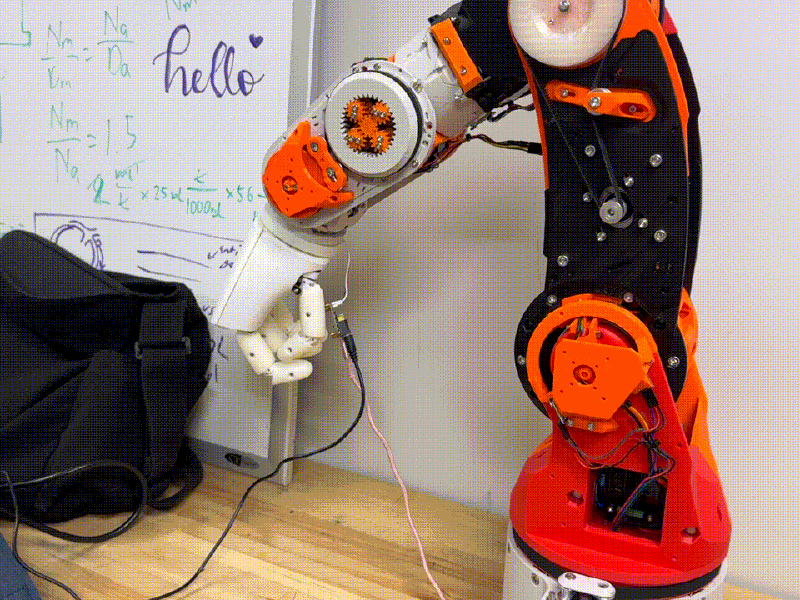
I then installed the gripper, which went smoothly. The strength was impressive, but the current draw seems high and I think will cause damage in the future.
One unsolved problem is the C cycloidal gearbox making crunching sounds when running. I believe there is some mis-assembled disc that is snapping past the metal bars. The fix will require a re-assembly at some point.

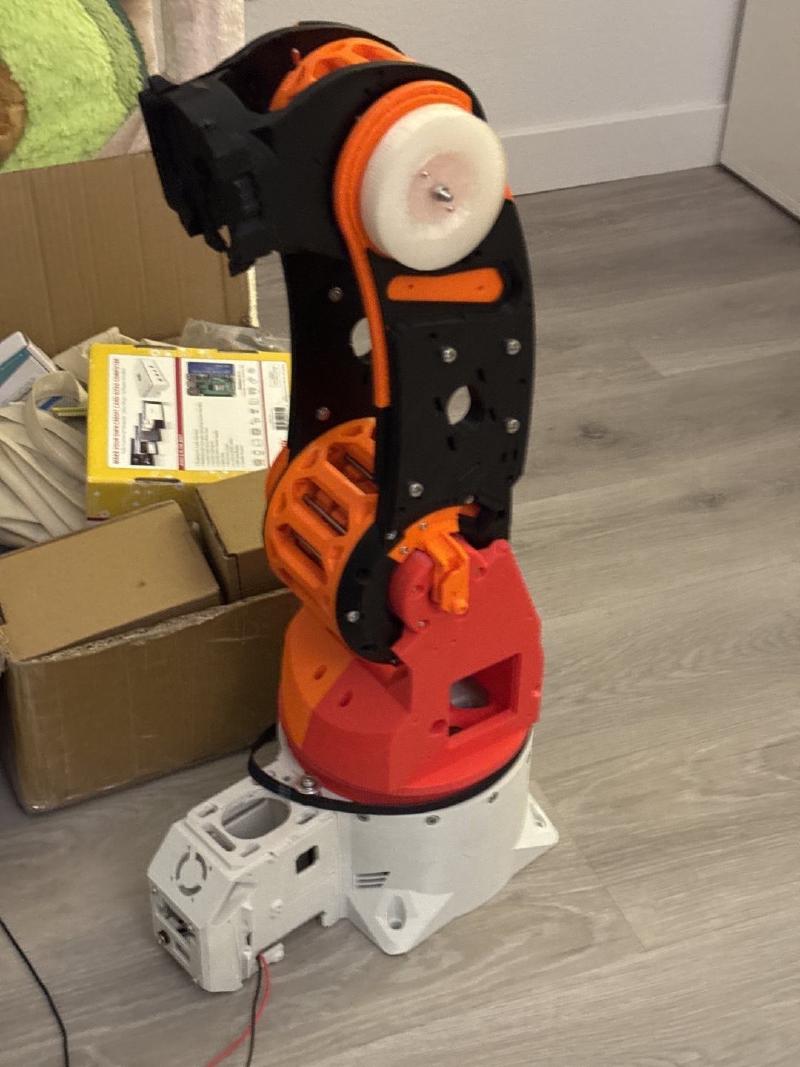
As I finished before class started, we used the robot for club tabling to attract new members. Yay
AmazingHand#
More info to come about the AmazingHand and the full integration with the arm.